 how-to
How to Fix a Leaky Kitchen Faucet: Step-by-Step Guide
Table of Contents
- How to Fix a Leaky Kitchen Faucet: A Step-by-Step Guide
- Identify Where Your Faucet Is Leaking
- How to Shut Off Water to a Kitchen Faucet
- Gather Your Tools and Prepare the Work Area
- Disassemble the Faucet Handle and Spout
- Inspect and Replace Worn Parts
- Reassemble and Test for Leaks
- When to Call a Plumber for a Leaky Faucet
- Frequently Asked Questions
Last Updated: October 16, 2026
How to Fix a Leaky Kitchen Faucet: A Step-by-Step Guide
A leaky kitchen faucet is one of the most common plumbing problems homeowners face, and most handle and spout drips come down to one worn part: a cartridge, O-ring, or seal. At Farm Finger's, we've spent 12 years repairing faucets across the Atlanta area, and the fix is usually simpler than people expect.
A dripping faucet wastes water every single day it goes unfixed. The good news is that you don't need a plumber for most leaks. Below, we'll show you exactly how to trace the leak, shut off the water, swap the worn part, and test your work.
Identify Where Your Faucet Is Leaking
Finding the leak location is the first step, because where the water appears tells you which part failed. A leaky kitchen faucet usually drips from one of three spots, and each points to a different fix. Watch your faucet for a minute before you grab any tools.
Leak from the Handle
Water pooling around the base of the handle means the problem sits inside the handle assembly. The usual culprits are a worn O-ring or a loose packing nut. Tightening the packing nut sometimes stops it. If water still seeps out, the O-ring needs replacing.
Leak from the Spout
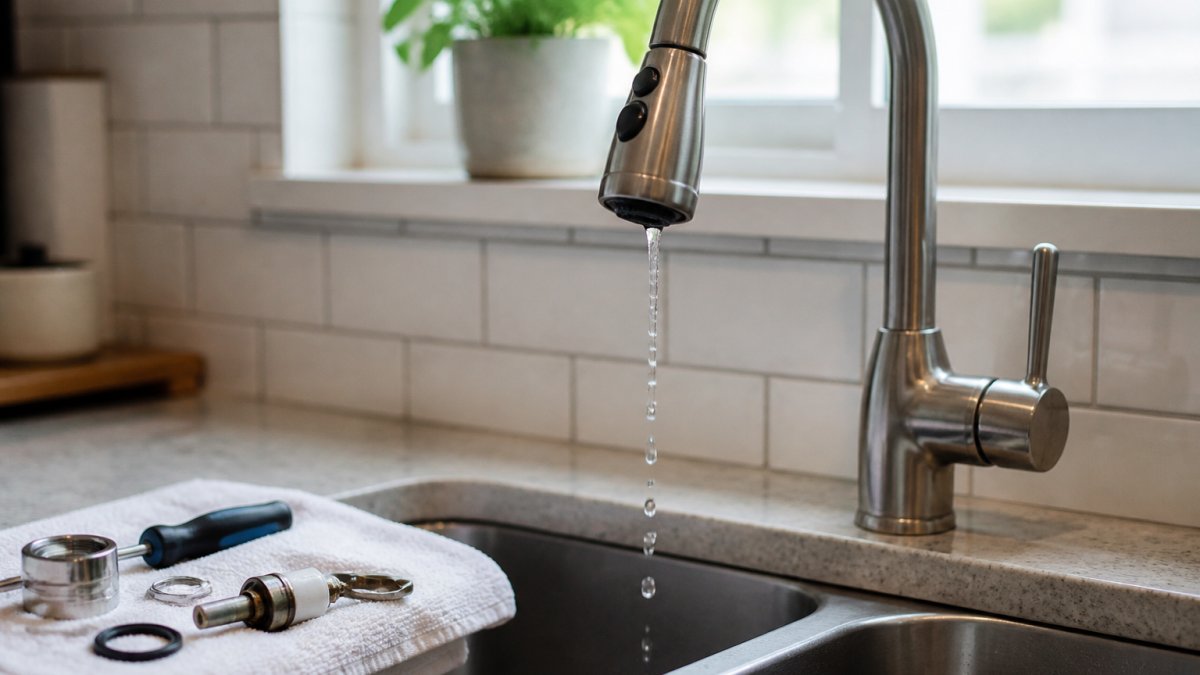
A drip from the spout itself, even when the handle is off, points to the cartridge or valve. This is the classic "dripping faucet" symptom. The cartridge seal has worn out and no longer blocks water flow. This is the most common repair we handle.
Leak Under the Sink
Water on the cabinet floor is a different problem. Check the supply lines and the shutoff valve connections first. A loose connection or a corroded valve is often the cause, not the faucet body itself.
| Leak Location | Likely Cause | First Fix to Try |
|---|---|---|
| Handle base | Worn O-ring or loose packing nut | Tighten packing nut, then replace O-ring |
| Spout | Worn cartridge or valve | Replace the cartridge |
| Under sink | Loose supply line or bad valve | Tighten connections, replace valve |
How to Shut Off Water to a Kitchen Faucet
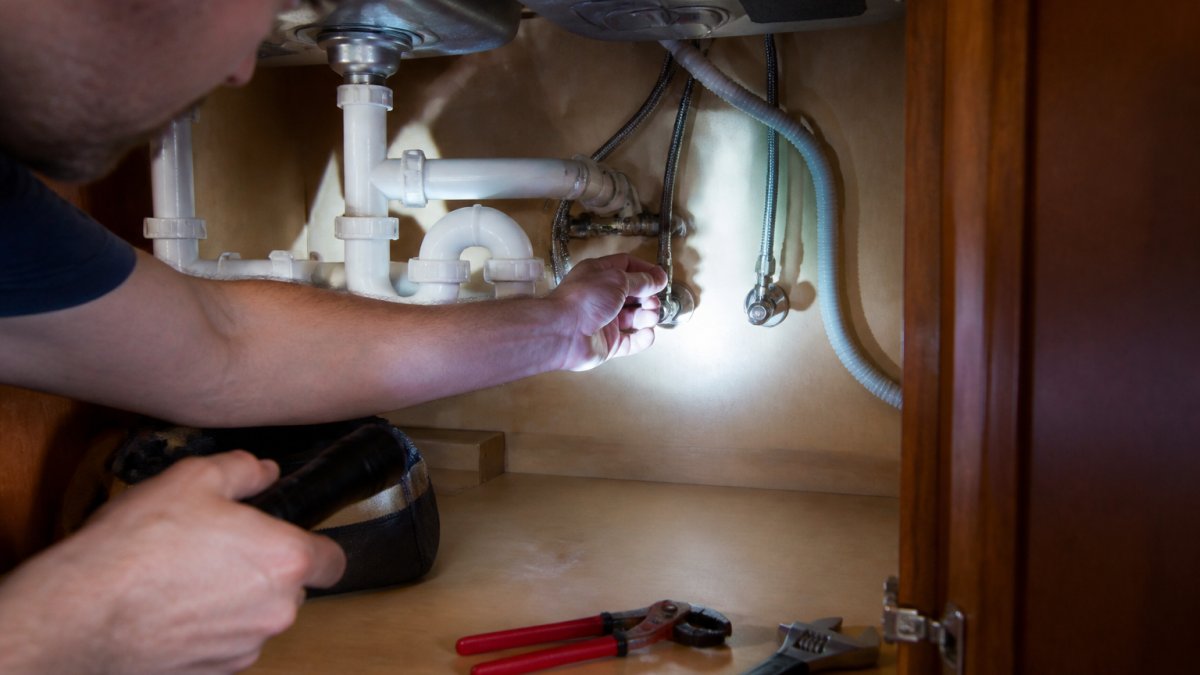
Turn off the water before you touch anything, or you'll flood the cabinet the moment you open the faucet.
If those valves are stuck or missing, shut off the main water supply to your home instead. Open the faucet afterward to drain any water left in the lines.
Gather Your Tools and Prepare the Work Area
Clear the cabinet below the sink and lay down a towel so you can see dropped screws. Most faucet repairs need only a few tools. Gather these before you start:
- Adjustable wrench
- Phillips and flathead screwdriver
- Allen wrench set (for set-screw handles)
- Replacement cartridge, O-rings, or seals
- Plumber's tape
- Flashlight or phone light
Buy replacement parts matched to your faucet model. Check the brand name stamped on the faucet base or look up the model number online. Generic parts often don't fit, and that wastes a trip to the store.
Disassemble the Faucet Handle and Spout
Removing the handle is where most people get stuck, because the four common kitchen faucet types come apart differently. Before you pry anything off, identify your faucet type. The fastest way is to look at the handle: a single lever that swivels in a full circle and tilts up and down is usually a ball faucet; a single lever with a smooth quarter-turn arc is usually ceramic disk; two separate hot and cold handles with a stem under each are compression; and a single or double handle with a cylindrical body that pulls straight apart is usually cartridge.
Cartridge faucets
Pry off the decorative cap on top of the handle with a flathead screwdriver. Under it you'll find either a Phillips screw or a small Allen set screw on the side of the handle. Remove the screw, lift the handle straight up, then unscrew the retaining nut that holds the cartridge in the valve body. Pull the cartridge straight out, do not twist it, because twisting can shear the locating tabs and leave plastic fragments inside the bore.
Ball faucets
Ball faucets (the classic Delta design) have a domed cap held by an adjusting ring. Remove the handle screw, lift the handle and cap, then use the adjusting ring tool that came with the faucet, or a pair of channel-lock pliers wrapped in tape to avoid scratching the chrome, to unscrew the adjusting ring. Under it you'll find the cam, the cam packing, the ball, and the springs and seats.
Ceramic-disk faucets
These are the simplest to open. Remove the handle screw or set screw, lift the handle, and unscrew the escutcheon or retaining nut. The ceramic disk cartridge lifts out as one sealed unit. You do not service the disks themselves, if the cartridge is worn, you replace the whole cartridge.
Compression faucets
Compression faucets have separate hot and cold handles. Remove the handle screw, lift the handle, then loosen the packing nut with an adjustable wrench. Under the packing nut is the stem assembly. Unscrew the stem and inspect the rubber seat washer at the bottom, that washer is the part that actually fails and causes the drip.
If a handle won't budge, do not force it. Mineral buildup and corrosion are common on older faucets, and a penetrating oil applied at the base of the handle and left for 15 to 20 minutes will usually free it. Forcing a stuck handle can crack the valve body, which turns a $15 part swap into a full faucet replacement.
Inspect and Replace Worn Parts
Look closely at the cartridge, O-rings, and seals once the handle is off. You're checking for cracks, mineral buildup, and flattened rubber. Any part that looks worn or feels rough is a candidate for replacement. This is the step that actually fixes the leak.
How to Replace a Faucet Cartridge
Pull the old cartridge straight out, noting its orientation. Take it to the store and match it exactly, or use your model number. Push the new cartridge in the same way the old one came out. Replacing a faucet cartridge is the single most common fix for a spout drip, so get this right and most leaks end here.
O-Rings and Seals
O-rings sit around the base of the cartridge and the spout. Roll each one between your fingers. If it feels stiff, cracked, or flattened, swap it out. Coat the new O-rings with a thin layer of plumber's tape-friendly silicone grease so they seat without pinching.
Reassemble and Test for Leaks
Put everything back in reverse order and tighten the packing nut or retaining nut snug, not cranked down. Over-tightening cracks plastic cartridges, strips brass threads, and deforms O-rings so they leak worse than before.
Turn the water supply back on slowly, a quarter turn at a time, and watch the connections under the sink as pressure builds.
Troubleshooting leaks that remain after reassembly
Most post-repair leaks fall into four patterns, and each points to a specific fix:
| Symptom | Likely Cause | Fix |
|---|---|---|
| Spout still drips when handle is off | Cartridge installed backward, or wrong cartridge | Pull the cartridge, check the orientation tab against the old part, reinstall |
| Handle base seeps when faucet is on | O-ring pinched or not seated | Remove handle, reseat or replace the O-ring, add silicone grease |
| Slow seep under the sink at a supply nut | Nut not tight enough, or missing plumber's tape | Tighten a quarter turn; if it still seeps, remove the nut, wrap the threads with plumber's tape, reinstall |
| Water pools at the faucet base on the counter | Base gasket or putty seal failed | Lift the faucet, replace the base gasket or apply fresh plumber's putty, reseat |
If the spout still drips after a correct cartridge install, the valve body itself may be scored or cracked. That is not a part you can replace, it means the faucet has reached the end of its service life.
Verify the shutoff valves too
Before you call the job done, close and reopen each under-sink shutoff valve once. A valve that weeps after being disturbed is a valve that will fail later, and replacing a $10 shutoff valve now is far cheaper than repairing a flooded cabinet floor later. If a valve won't close fully, note it and plan to replace it before the next repair.
Run one final check 24 hours after the repair. A slow weep that doesn't show up in the first five minutes often shows up overnight, and catching it the next morning is much easier than catching it after a week of cabinet damage.
When to Call a Plumber for a Leaky Faucet
Call a plumber when the leak returns after a proper repair, when the faucet body itself is cracked, or when corrosion has seized the shutoff valves. Older faucets with discontinued parts are often not worth repairing.
If you'd rather skip the guesswork, Farm Finger's handles faucet repair and full plumbing work across the area. Our team brings 12 years of experience and handles the diagnosis, parts, and install in one visit.
Frequently Asked Questions
How do I stop my kitchen faucet from dripping?
Turn off the water supply under the sink, remove the handle, and inspect the cartridge or rubber washer for wear. A dripping spout usually means a worn cartridge seal or O-ring. Replace the damaged part, reassemble the faucet, and test for leaks. If the drip continues after replacing the cartridge, check for mineral buildup on the valve seat and clean it with vinegar.
Why is my kitchen faucet leaking from the handle?
A kitchen faucet leaking from the handle typically points to a worn O-ring, cartridge seal, or packing nut. Water escapes around the handle base because the internal seal no longer fits tightly. Turn off the water, remove the handle, and inspect the O-ring and cartridge. Replacing these inexpensive parts usually stops the leak and restores smooth handle operation.
Can I fix a leaky kitchen faucet myself?
Most leaky kitchen faucet repairs are doable with basic tools like an adjustable wrench, screwdriver, and plumber's tape. If the leak comes from a worn cartridge, O-ring, or seal, a DIY fix takes about 30 to 60 minutes. Call a plumber if the leak involves corroded supply lines, a cracked faucet body, or water damage under the sink that you cannot identify.
When should I call a plumber for a leaky faucet?
Call a plumber when the leak persists after replacing the cartridge and seals, when the faucet body is cracked, or when supply lines show corrosion. Also call a pro if you find water damage inside the cabinet, if the shutoff valve will not close fully, or if you are uncomfortable working with plumbing. A licensed plumber can diagnose hidden issues and prevent further damage.
A leaky kitchen faucet is a small problem that gets worse the longer you ignore it, and some repairs sit beyond a homeowner's toolkit. When a drip keeps coming back or the valves won't cooperate, Farm Finger's can step in. We offer plumbing repair, handyman service, and full kitchen remodeling, backed by 12 years of experience and EPA Certified technicians. Book an appointment with Farm Finger's and get your kitchen back to dry, quiet, and working right.